Jenkins is one of the most popular Continuous Integration systems. It originates in 2011 but it existed earlier under another name, Hudson which first appeared in 2005.
Prerequisites
To be able to run Jenkins you just need Java. Download and install it into your system. I will be presenting how to install Jenkins on Linux, Fedora 29.
Download
Go to Jenkins download page and either find a best fitting option for you (e.g. Ubuntu/Debian or Docker) or just download a Generic Java package (.war).
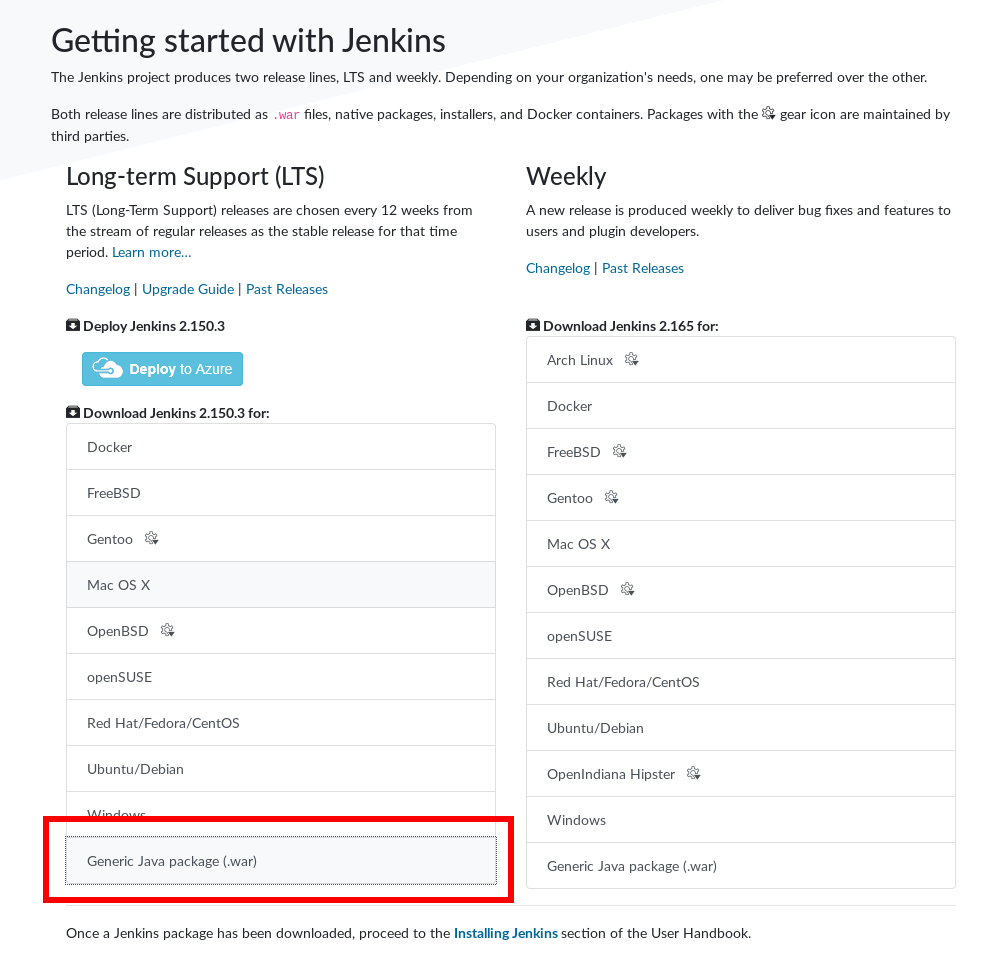
I will show how to start with the .war package.
$ wget http://mirrors.jenkins.io/war-stable/latest/jenkins.war
I downloaded 2.150.2 version of Jenkins and this one I will be installing.
Install
The simplest way for starting is just running java with .war as an argument. It will run in console, in foreground. In production environment the best approach is deploying Jenkins as a service. Thanks to this Jenkins will be automatically started after machine reboot.
Starting Jenkins:
$ java -jar jenkins.war
Now visit http://localhost:8080/ in you web browser and you should see the following screen.
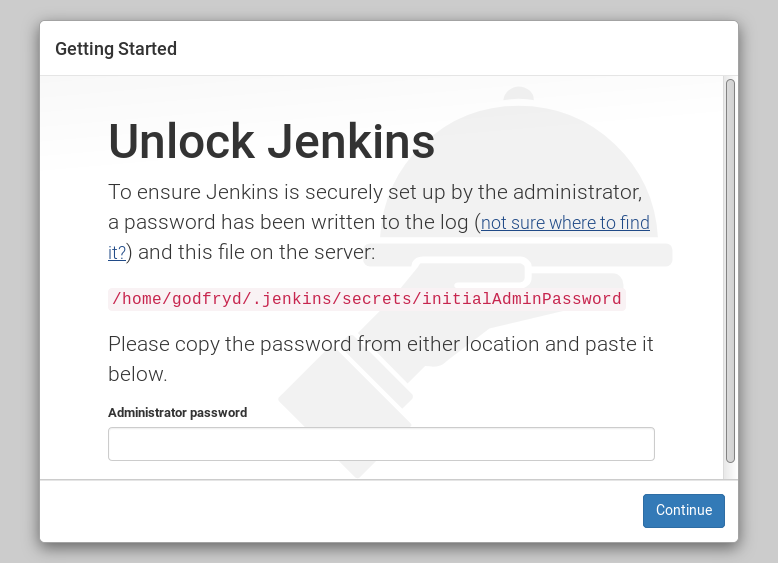
As the message states: get the admin password from $HOME/.jenkins/secrets/initialAdminPassword and paste it into the text box and click "Continue" button.
Then you need to choose if you want to install suggested plugins or select initial plugins on your own. I propose to install suggested plugins. It takes a while so please be patient.
Then you are asked to create first user.
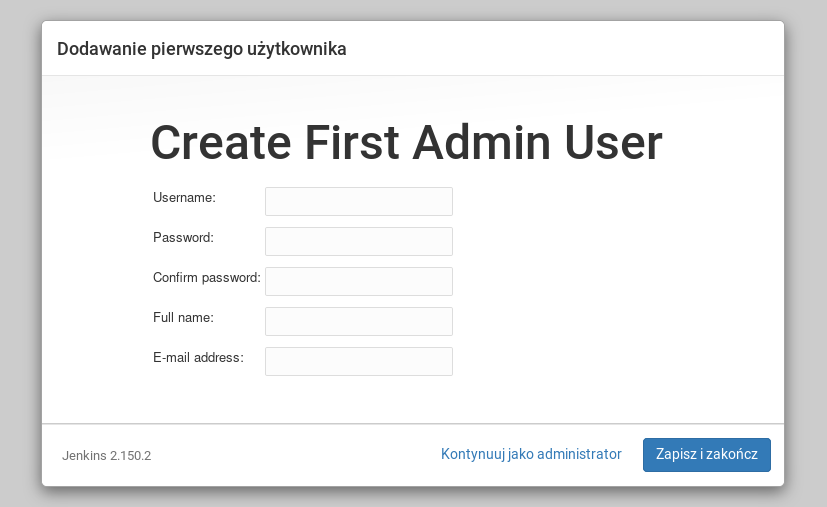
And then Jenkins asks for service URL. For now let's leave localhost:
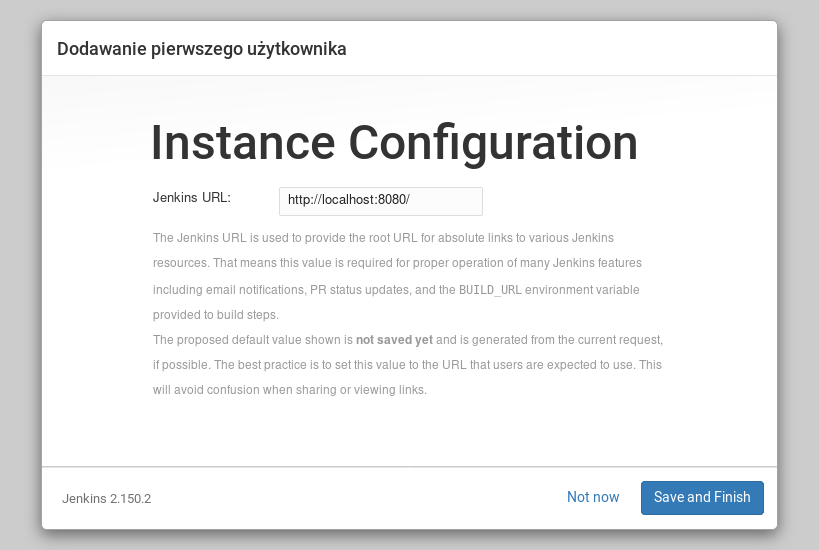
And that's it. After restarting the service and getting to http://localhost:8080/ you are presented with login screen. You can use now the initial user that you have created in previous steps.
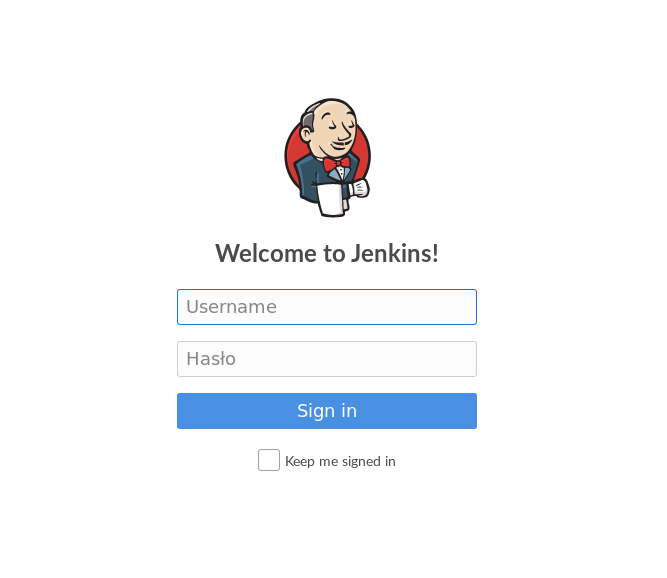
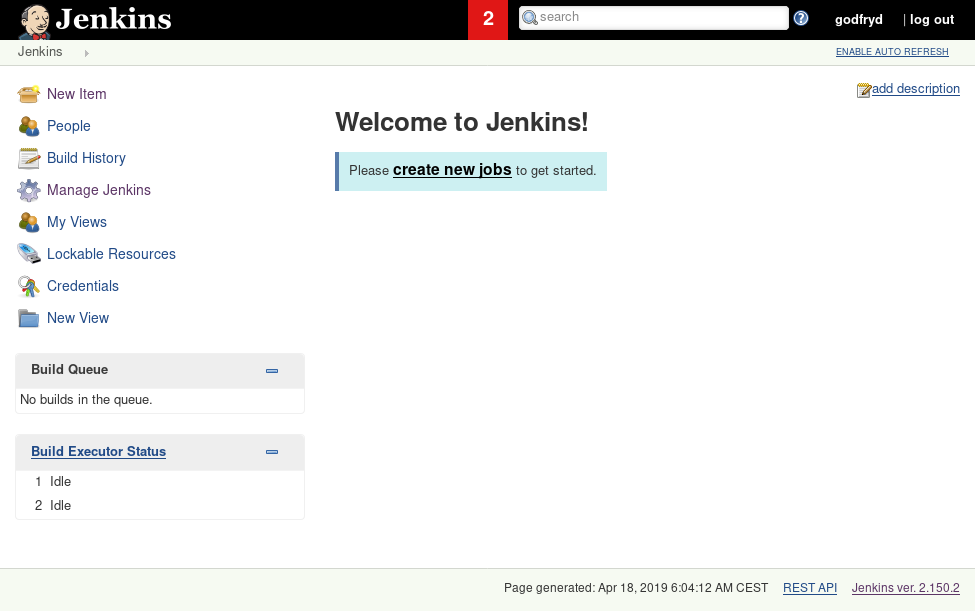
After logging in you can see main Jenkins page that currently is empty. In next posts I will show how to create first project and do first builds.
This tutorial is showing basic installation and configuration procedure. For more detailed installation instruction please visit Jenkins book pages.
